Switching Gym Software: A Step-by-Step Data Migration Checklist

Changing gym software feels risky because memberships, balances, expiry dates, attendance and invoices keep moving while the business remains open.
A successful migration is not a dramatic overnight export. It is a controlled project with clean data, clear ownership, testing and a fallback plan.
Use this checklist when you need to change gym management software without losing records or confusing members.
Step 1: Define why you are switching
Write down the problems the new platform must solve:
Missed renewals or weak billing
Poor attendance control
No member app or online sales
Limited classes and PT management
No POS or café workflow
Weak reporting
No multi-branch structure
High add-on or support costs
These requirements become your acceptance test after migration.
Step 2: Confirm data ownership and export
Before signing with a new vendor, export everything available from the current system. Do not rely on future access remaining available.
Request member records, packages, memberships, balances, invoices, payments, attendance, trainers, classes, products, staff accounts and relevant communication history.
Step 3: Create a migration inventory
For each dataset, record:
Current source and file format
Number of records
Required destination
Owner responsible for verification
Fields that must not be lost
Known quality problems
This prevents important data from being discovered after the old system is closed.
Step 4: Clean the records
Migration is the right time to correct:
Duplicate members
Missing phone numbers or emails
Inconsistent package names
Impossible start or expiry dates
Unclear payment statuses
Former staff accounts
Products that are no longer sold
Keep the original export untouched and perform cleaning on a working copy.
Step 5: Map old fields to the new system
Agree on how every important field will translate. “Plan” in one system may become a package type, membership or price option in another.
Document how active, expired, frozen, cancelled and pending statuses will be handled. Define date, phone-number, currency and branch formats before import.
Step 6: Protect historical and sensitive data
Share migration files only through approved secure methods. Limit access to the people performing and validating the work.
Decide how much history must remain operational in the new system and what can be stored in a protected archive. Remove unnecessary temporary copies after validation.
Step 7: Run a test migration
Import a representative sample before moving the full database. Include:
An active member
An expiring member
An expired member
A frozen membership
A member with several packages
A discounted or partially paid transaction
A class or PT booking
A retail or café order
Verify the profile, dates, balance, access and reports for each case.
Step 8: Configure the platform before final import
Create branches, package types, prices, staff roles, payment methods, tax settings, POS categories, trainers, classes and attendance rules before importing live records.
Imported data cannot behave correctly if the destination structure is unfinished.
Step 9: Train staff using real workflows
Do not train with a feature tour. Practise the work staff perform daily:
Register a member
Sell and renew a package
Record payment and issue an invoice
Check in a member
Book a trainer or class
Sell a POS item
Correct a mistake with permission
Run the end-of-day report
Step 10: Plan the cutover
Choose a quieter operating window. Set a final time for changes in the old system, take the final export, import the remaining data and reconcile totals.
Communicate any short interruption to staff and members. Keep printed or controlled manual fallback procedures for check-in and sales.
Step 11: Validate before going live
Compare old and new totals for:
Active, expiring and expired members
Membership balances and expiry dates
Revenue and paid invoices
Attendance history
Package and product counts
Upcoming classes and PT bookings
Investigate every unexplained difference before treating the migration as complete.
Step 12: Monitor the first two weeks
Track failed check-ins, missing profiles, invoice differences, staff questions and member complaints in one issue list. Resolve root causes and update staff instructions.
Keep the old system read-only until the agreed validation period ends, then archive or close it according to your contract and retention requirements.
How GYMTROX assists migration
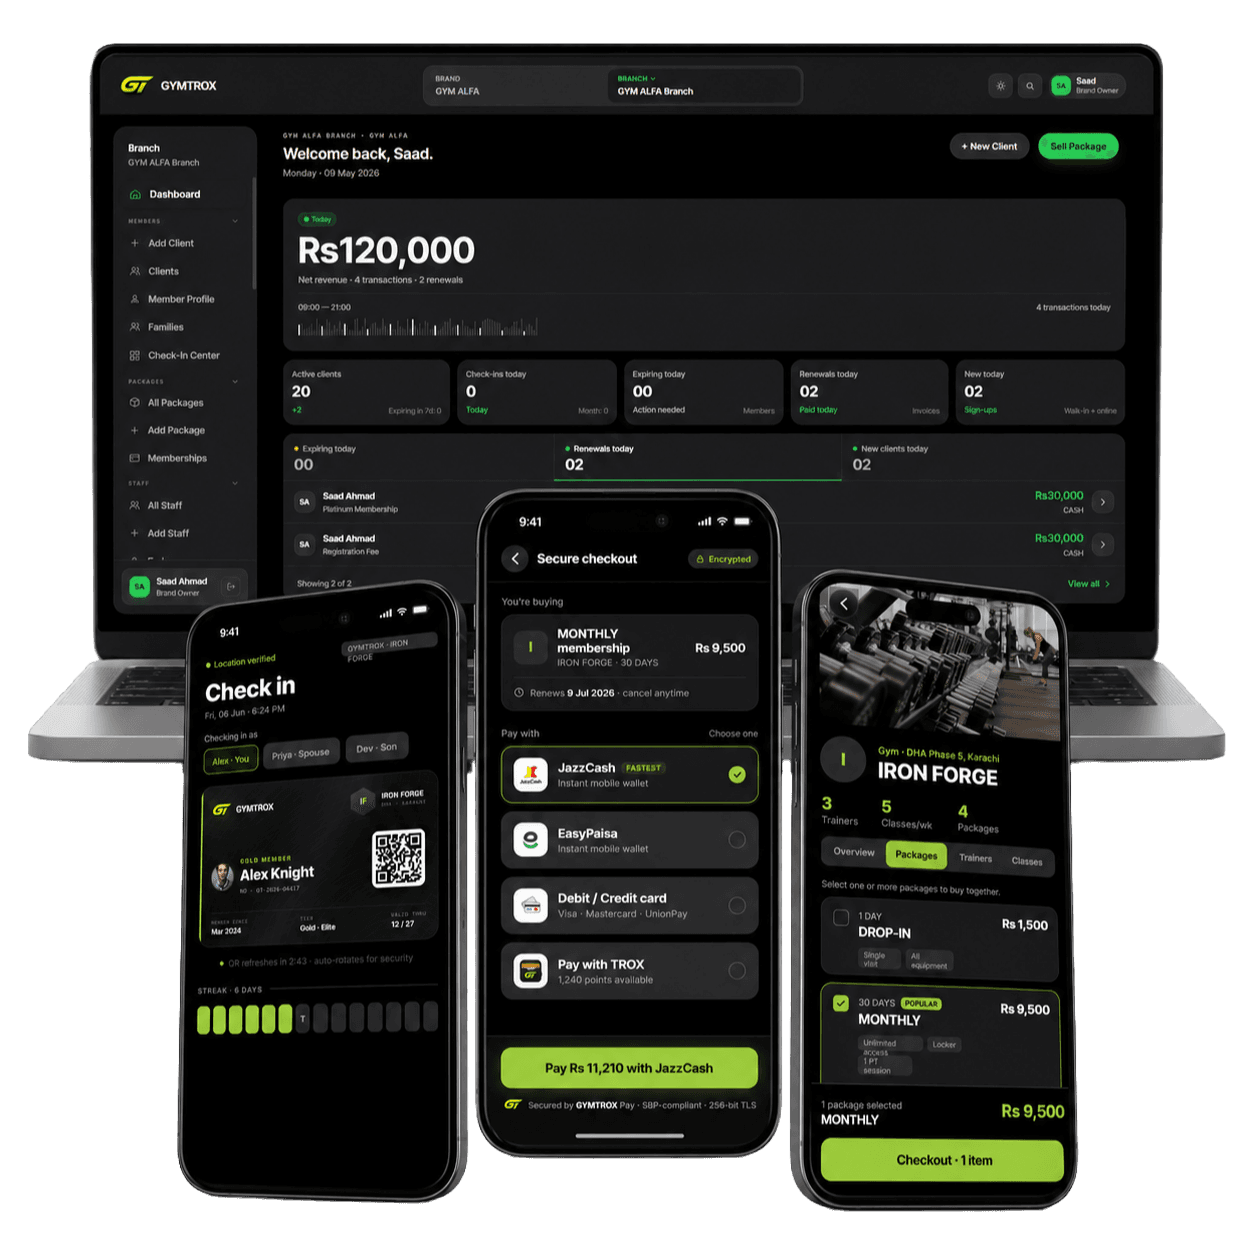
GYMTROX supports the connected data needed to operate a modern gym: brands, branches, members, packages, memberships, staff roles, attendance, invoices, trainers, classes, POS, café and reports.
The migration process can map existing member, package and pricing records into the new branch structure, test representative workflows and prepare staff before cutover.
Members then access valid packages, purchases, QR check-in and bookings through the GYMTROX app, while owners receive branch and brand reporting through the dashboard.
Request assisted migration to GYMTROX →
The bottom line
To change gym management software safely, treat migration as a business project rather than a file upload.
Export early, clean carefully, map fields, test edge cases, train real workflows and reconcile totals before launch.
Planning a switch? Request assisted GYMTROX migration.